
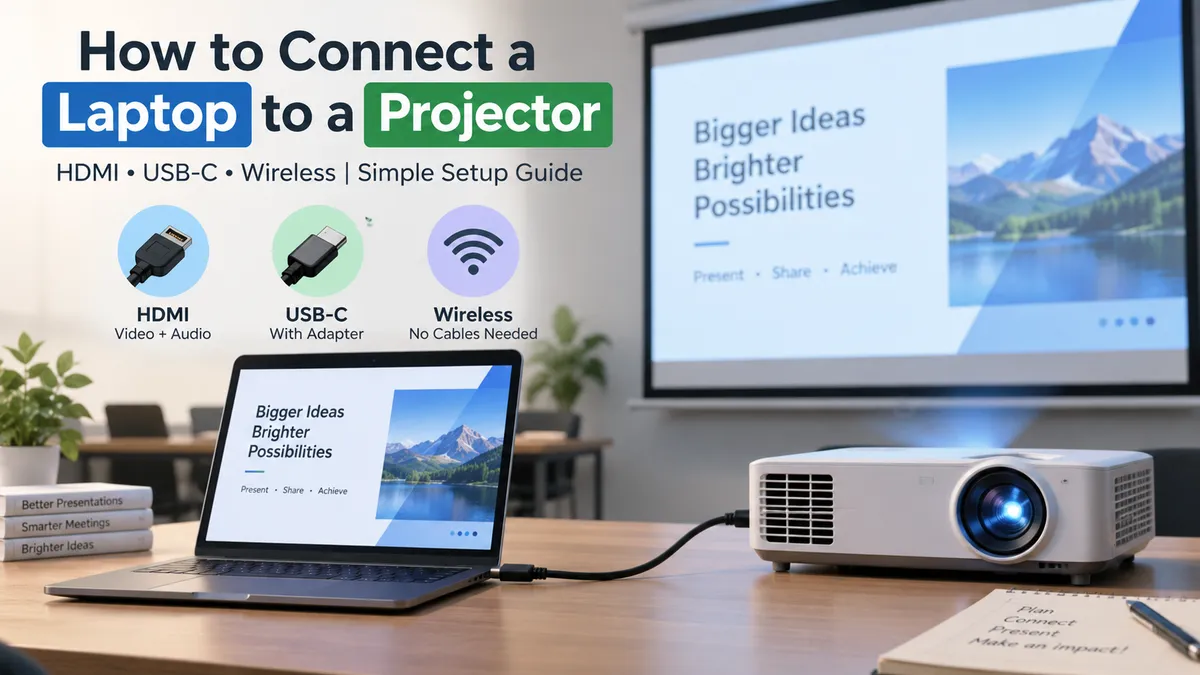
Connecting a laptop to a projector is usually simple once you have the right cable or wireless connection. Most modern setups use HDMI, while newer laptops may need a USB-C adapter. Follow these steps to connect your laptop to a projector and get the display working properly. Step 1: Check the Ports First, check the available ports on both your laptop and projector. Common options include: HDMI USB-C VGA Wireless connection If both devices have HDMI, you can connect them directly. If your laptop only has USB-C, you may need a USB-C to HDMI adapter. Step 2: Connect the Laptop to the Projector Connect one end of the HDMI cable to your laptop and the other end to the projector. If you are using an adapter, connect the adapter to the laptop first, then attach the HDMI cable. Step 3: Select the Correct Projector Source Turn on the projector and press the Source or Input button. Choose the input you are using, such as: HDMI 1 HDMI 2 VGA The laptop screen should appear on the projector within a few seconds. Step 4: Choose the Display Mode For a Windows laptop, press: Windows + P Then choose: Duplicate to show the same screen on both devices Extend to use the projector as a second screen Second screen only to display content only on the projector For most presentations, Duplicate is the easiest option. Step 5: Adjust the Display if Needed If the image looks blurry, cut off, or too large, open your laptop's display settings and adjust the resolution. You can also use the projector's focus and keystone controls to improve the image. Quick Tips Make sure the cable is firmly connected. Select the correct projector input. Use a good-quality HDMI cable. Check that your USB-C port supports video output. Restart both devices if the projector shows No Signal. Test the setup before an important presentation. Source: https://www.ryans.com/category/laptop-all-laptop
Wednesday, September 16, 2026






No comments yet. Be the first to comment!